

hey guys, so since i've seen a lot of people asking how to install/replace fog lights, i figured i'd do a DIY.
Non-Hybrid vehicle lights
Hybrid vehicle lights
the forum link
There are now stage 1 and stage 2 versions, I'd highly recommend stage 2. I think it's almost as bright as HID and I also think it's pointless to go any brighter since they're fog lights, not headlights
Things you need: a screw driver
Things I recommend: a ramp/jack and jack stands, utility knife
Time needed: 10min
Difficulty: Lowest possible
I recommend using something to lift the car, but it's not absolutely necessary. This can be done without raising the car but it'll be a real tight fit, if you've lowered the car then it'd be **** near impossible.
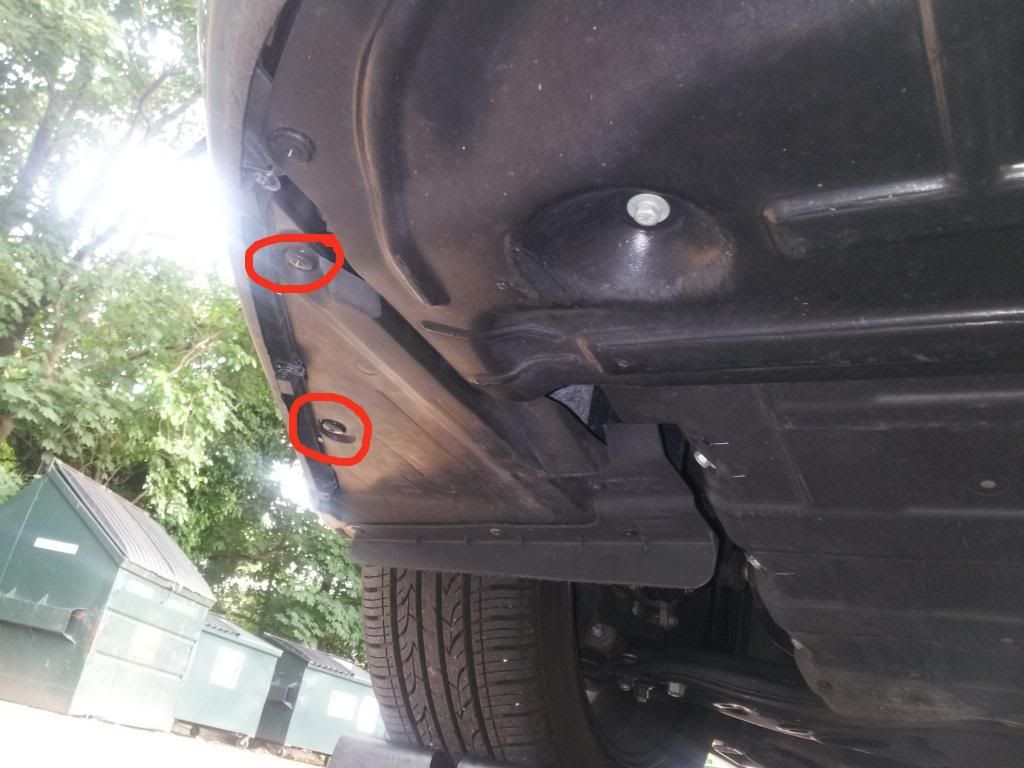
Once your car is up, locate the protective plastic cover under the fog light and remove the two circled screws:
Passenger side:
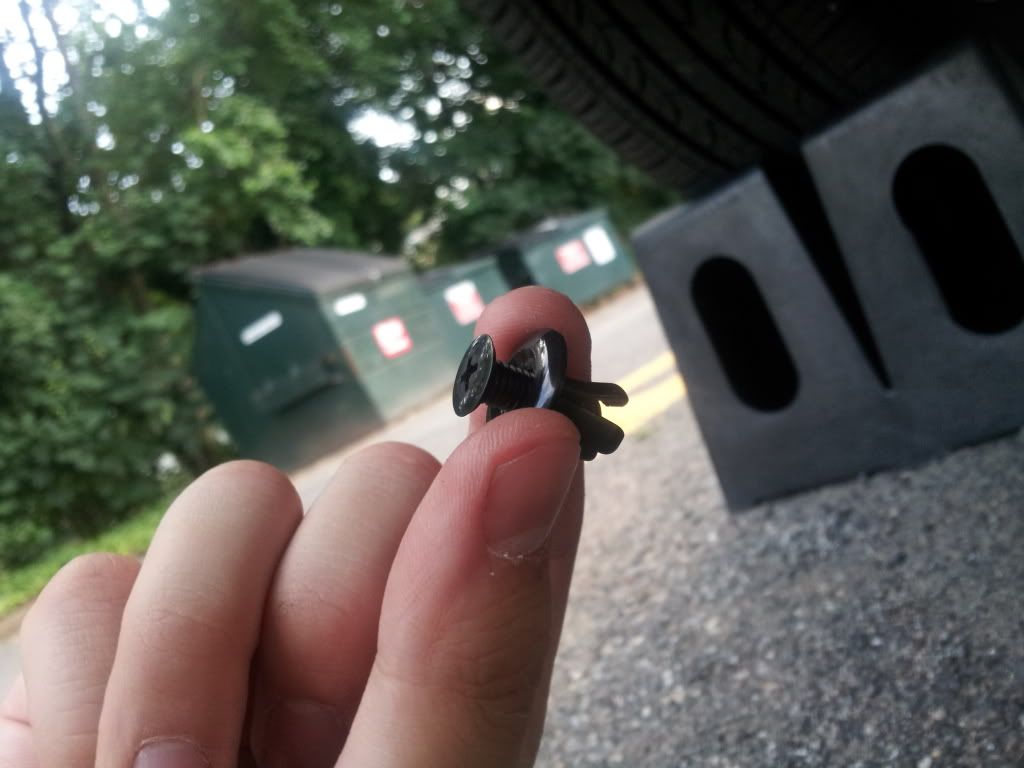
be careful when u remove them, i stripped the plastic screws few times... and had to buy replacements for like $2.5 each...
To avoid stripping the plastic screws, don't push into the screws when you're trying to remove them. They come out very easily if you loosely insert the driver into the screw bit and turn counter clockwise. I've stripped these by pushing into them while i was turning
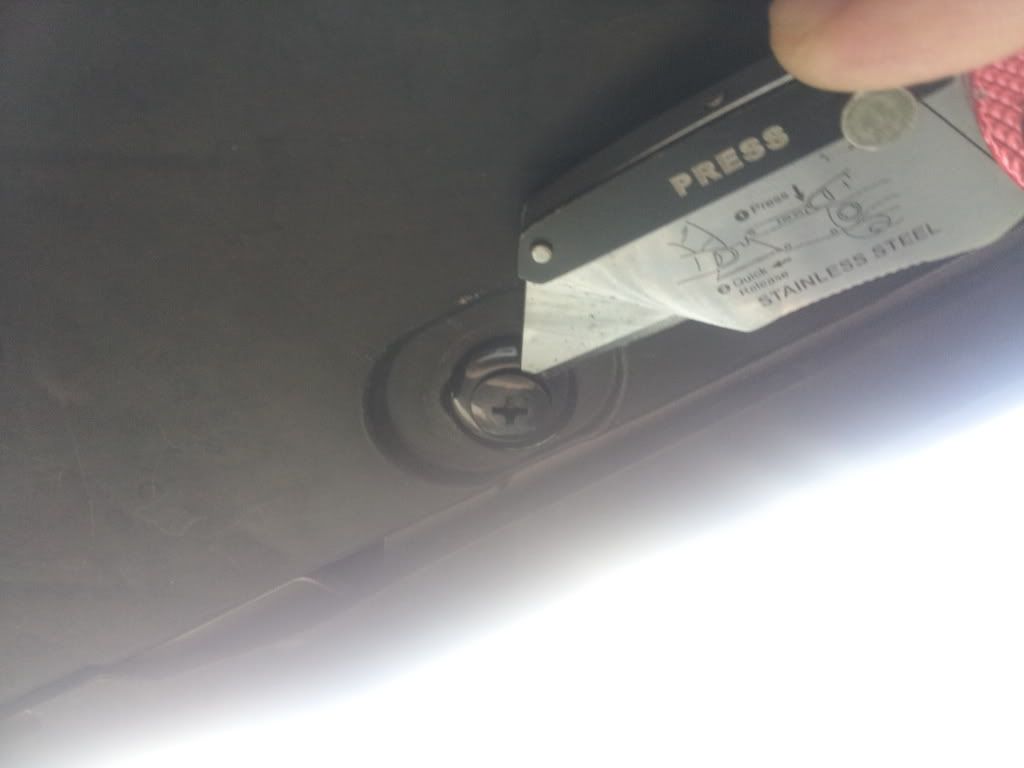
If you happen to have stripped the screw heads and can't get it out, take a utility knife and and gently pull it towards you like this:
once you have the bolts removed, pull down the plastic cover (this is the passenger side):
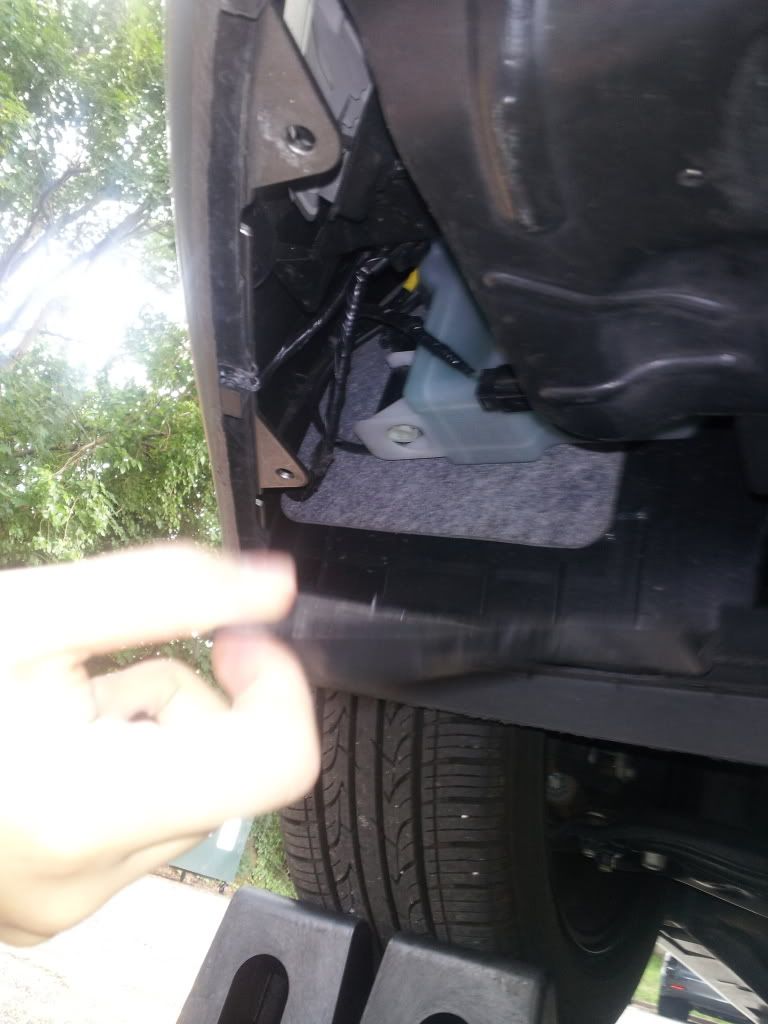
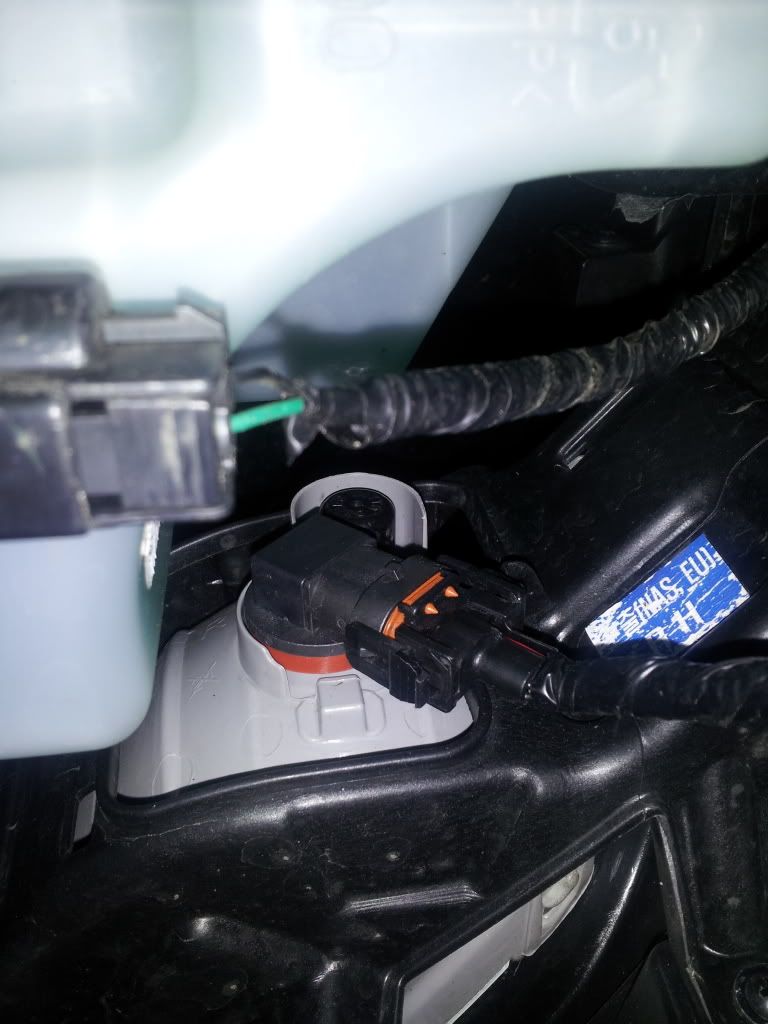
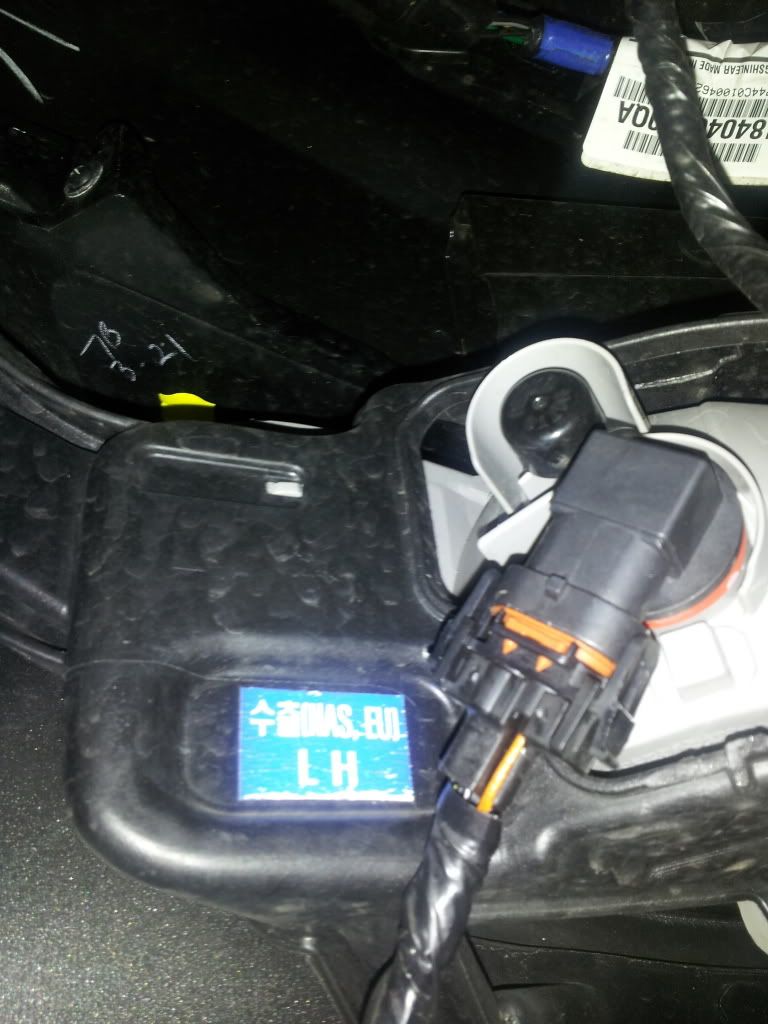
this is what it looks like inside:
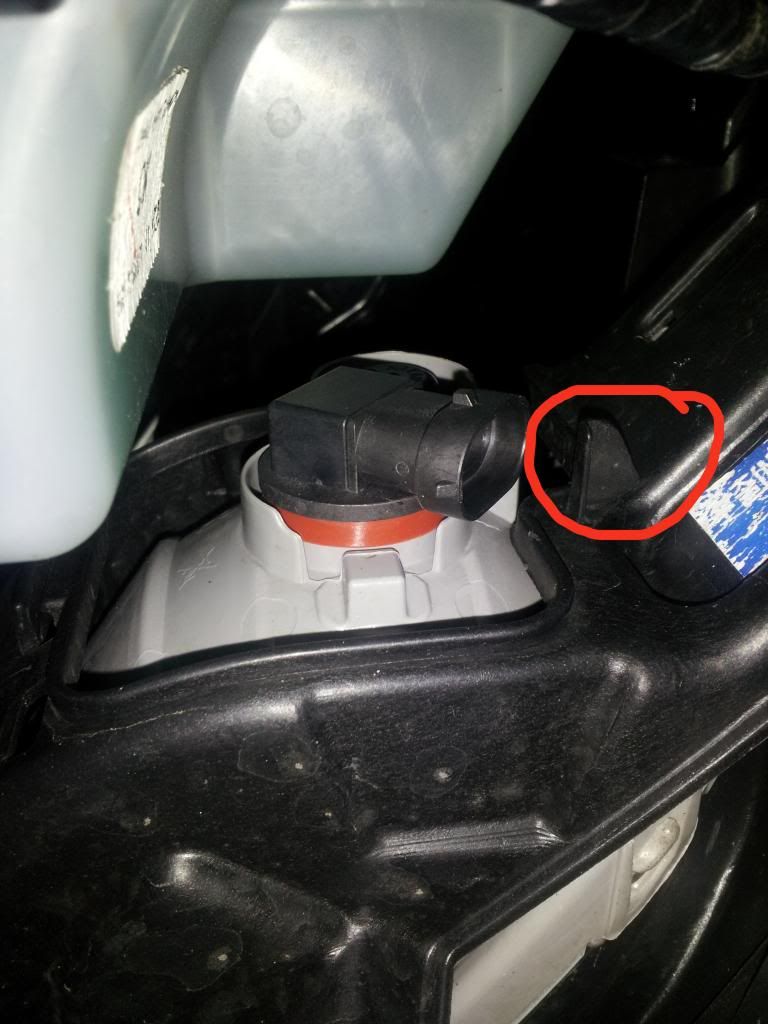
before you remove the bulb, you should pull out the plug first because you'll break this circled piece otherwise:
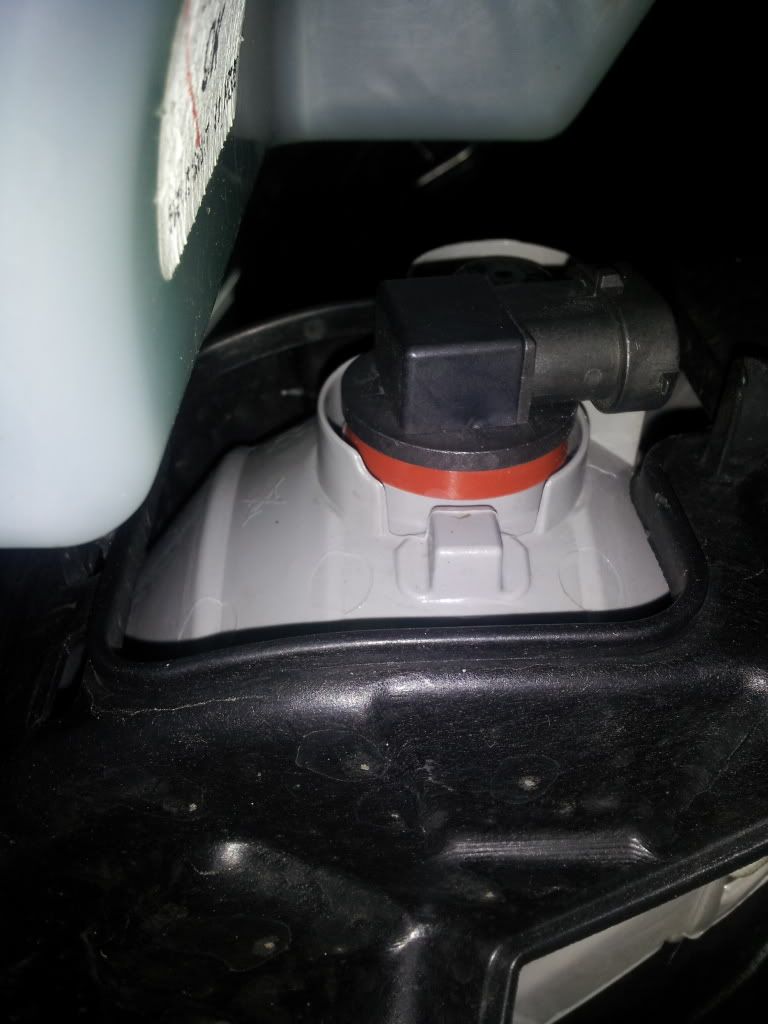
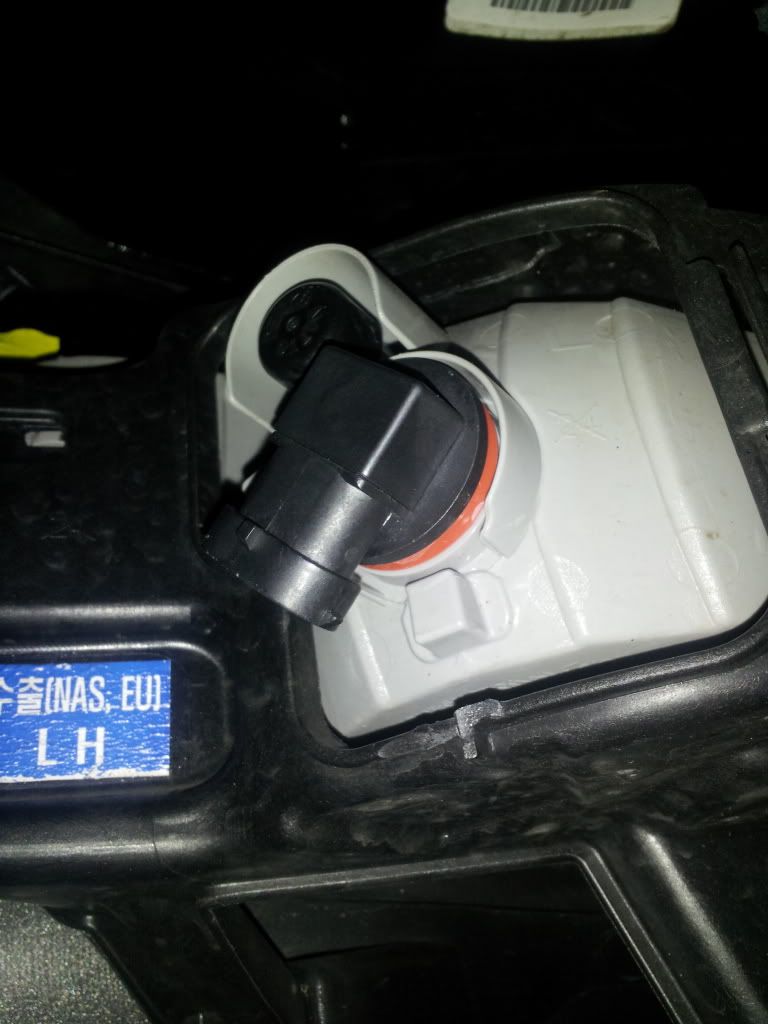
once it's been removed, turn it counterclockwise and pull it out:
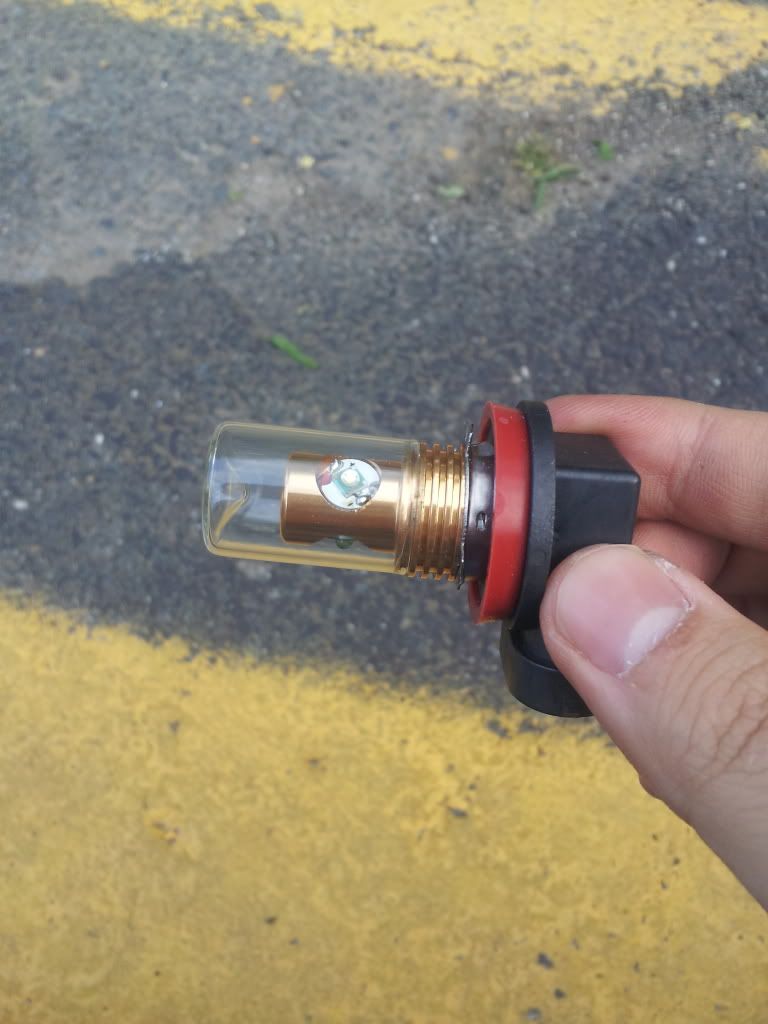
here is the new bulb (the glass/plastic should stay on and never be removed. i accidently broke mine, but i used crazy glue to put it back, DO NOT DO THIS. it makes the glued area hazy, find a glue made for acrylic or polycarbonate and use that):
and then to put everything back, just reverse the order.
the inside of the driver's side is:
same as passenger, pull the tab first (i didn't realize there was this tab, so i just twisted it and broke the plastic piece... now it's in there, but it's kind of loose... but not loose enough that it'll fall out):
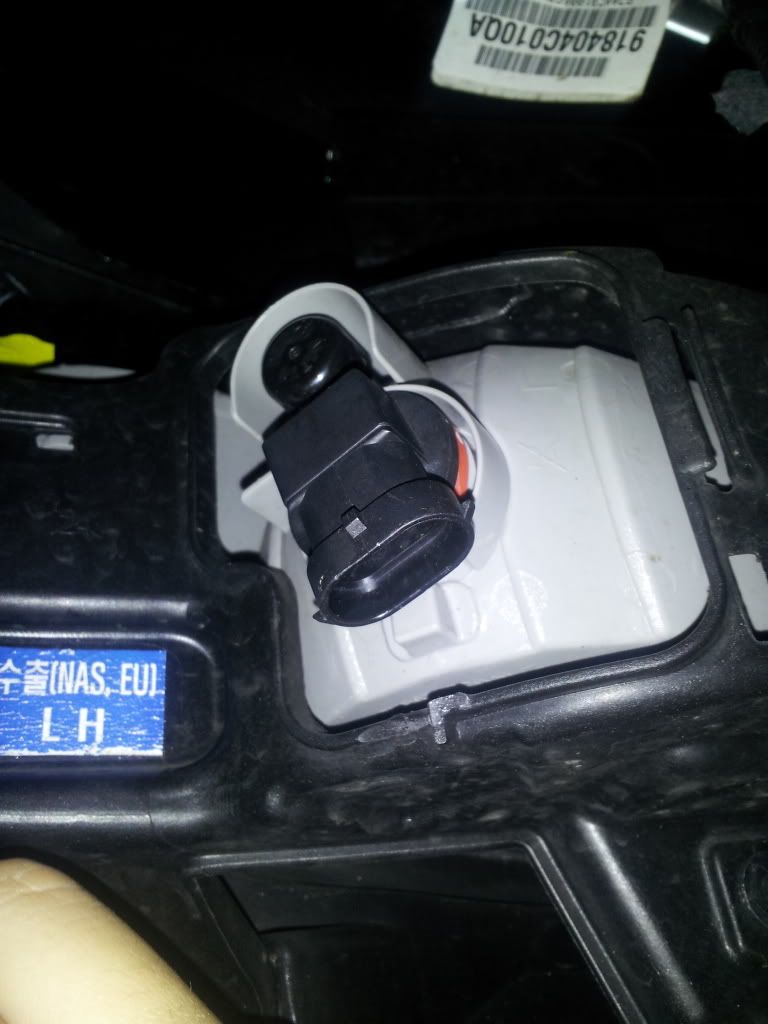
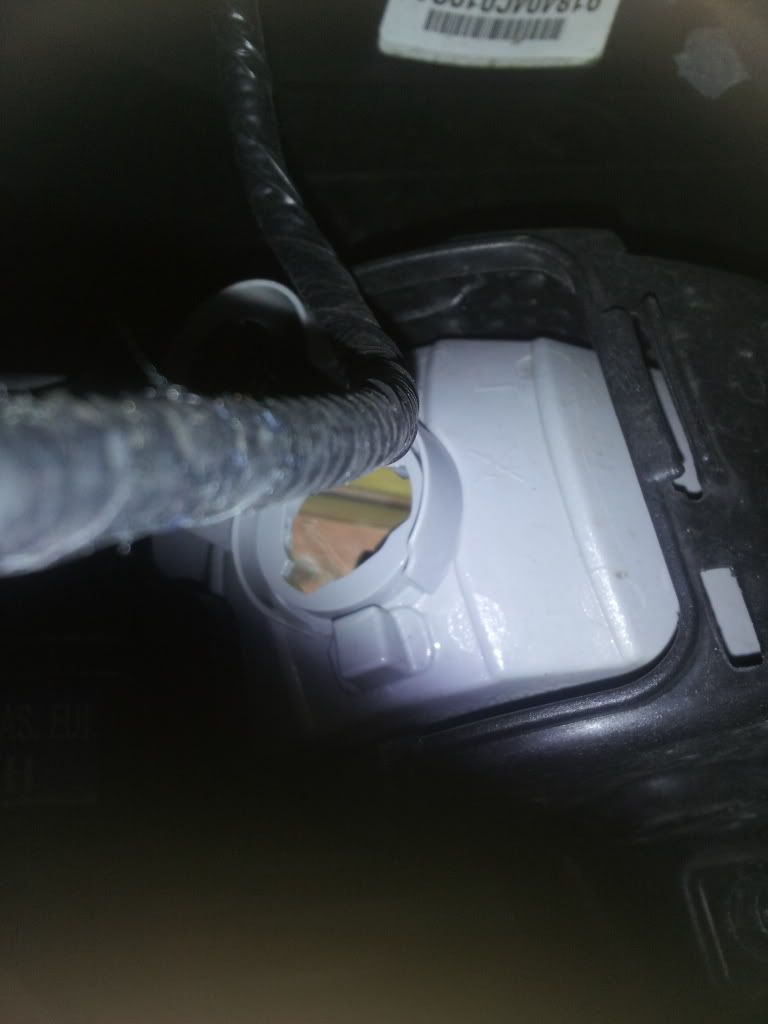
this is what it should look like once it's ready to come out:
oh and i forgot to mention, there's three prongs you have to align in order to fit it. see the three tabs(two visible, one behind the wires)??:
so for the passenger side, replace the bulb, turn clockwise, plug in the cable, install the screws, and you're done.
If you follow my crappy directions, it should take 10minutes from start to finish.
i don't have any night time shots right now cause i didn't get a chance to take any pictures... i'll try to get my lazy ass up and take some pictures later tonight, but for now follow the provided link for sick's pictures
Non-Hybrid vehicle lights
Hybrid vehicle lights
the forum link
There are now stage 1 and stage 2 versions, I'd highly recommend stage 2. I think it's almost as bright as HID and I also think it's pointless to go any brighter since they're fog lights, not headlights
Things you need: a screw driver
Things I recommend: a ramp/jack and jack stands, utility knife
Time needed: 10min
Difficulty: Lowest possible
I recommend using something to lift the car, but it's not absolutely necessary. This can be done without raising the car but it'll be a real tight fit, if you've lowered the car then it'd be **** near impossible.
Once your car is up, locate the protective plastic cover under the fog light and remove the two circled screws:
Passenger side:

be careful when u remove them, i stripped the plastic screws few times... and had to buy replacements for like $2.5 each...
To avoid stripping the plastic screws, don't push into the screws when you're trying to remove them. They come out very easily if you loosely insert the driver into the screw bit and turn counter clockwise. I've stripped these by pushing into them while i was turning

If you happen to have stripped the screw heads and can't get it out, take a utility knife and and gently pull it towards you like this:

once you have the bolts removed, pull down the plastic cover (this is the passenger side):

this is what it looks like inside:

before you remove the bulb, you should pull out the plug first because you'll break this circled piece otherwise:

once it's been removed, turn it counterclockwise and pull it out:

here is the new bulb (the glass/plastic should stay on and never be removed. i accidently broke mine, but i used crazy glue to put it back, DO NOT DO THIS. it makes the glued area hazy, find a glue made for acrylic or polycarbonate and use that):

and then to put everything back, just reverse the order.
the inside of the driver's side is:

same as passenger, pull the tab first (i didn't realize there was this tab, so i just twisted it and broke the plastic piece... now it's in there, but it's kind of loose... but not loose enough that it'll fall out):

this is what it should look like once it's ready to come out:

oh and i forgot to mention, there's three prongs you have to align in order to fit it. see the three tabs(two visible, one behind the wires)??:

so for the passenger side, replace the bulb, turn clockwise, plug in the cable, install the screws, and you're done.
If you follow my crappy directions, it should take 10minutes from start to finish.
i don't have any night time shots right now cause i didn't get a chance to take any pictures... i'll try to get my lazy ass up and take some pictures later tonight, but for now follow the provided link for sick's pictures


